 以下接續「第一篇」的步驟。
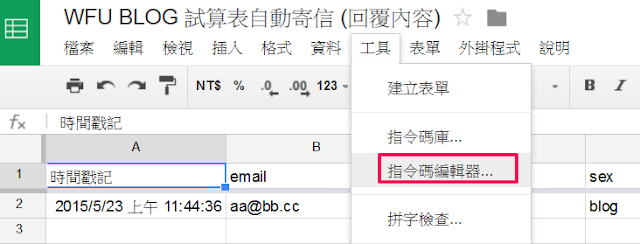
在試算表的畫面,按「工具」→「指令碼編輯器」
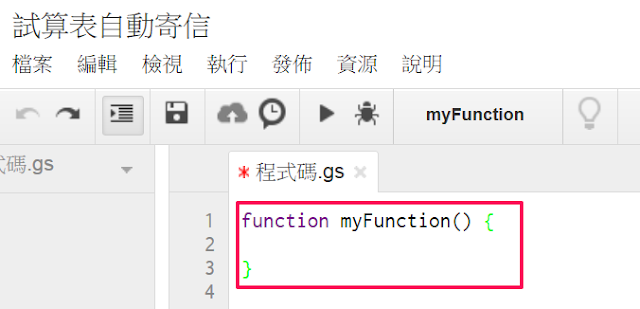
圖中紅框原本的程式碼請全部清除,置換為本文的安裝程式碼。
三、安裝程式碼
如果要修改參數的話,請參照以上程式碼行號。
B:紅色字串請務必改為自己的 email 地址
C:此行字串可改為自訂標題
D:如果你的 Google 表單供填寫 email 的項目名稱就是 "email",此項不必變動
E:每個 Google 帳號每日可寄信的額度為 100 封,可設定剩下多少額度時通知自己。
這個工具預設為寄信給填表者,如果要改為只通知自己的話,請將 W行的 notifyEmail 置換為 adminEmail,那麼我們不必進入試算表,就能即時看到所有的填寫資訊,也是相當方便的功能。
四、設定寄信觸發程序
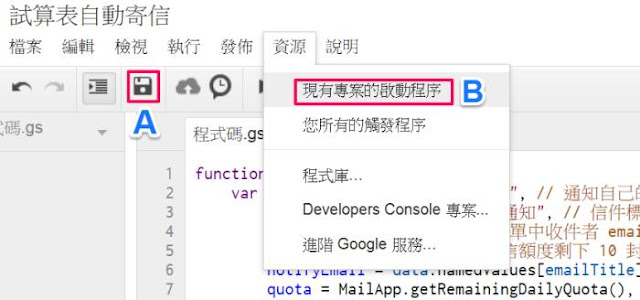
程式碼設定完畢後,如上圖,先按 A 處的圖示儲存,再按「資源」→「現有專案的啟動程序」,來設定觸發程序。
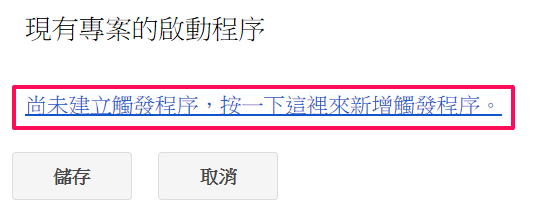
按下紅框的字串
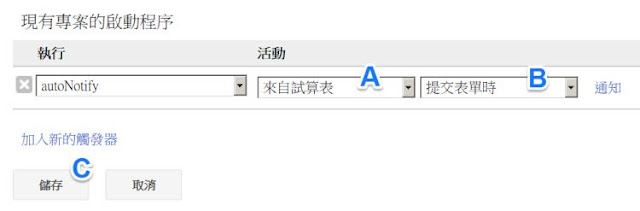
按 A~C 的順序,依序調整為圖中的選項,便能在填寫者提交表單時,立即送出 email 通知。
最後按下「儲存」。
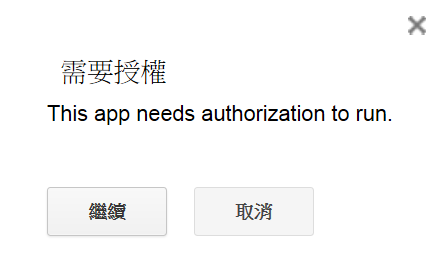
寄信功能會要求授權,應該會彈出上圖訊息,按下「繼續」,並依照後續畫面指示,完成授權動作即可。
過去曾有讀者表示,授權畫面不會出現,最後搞了很久才找出原因,原來是瀏覽器安裝了「擋廣告」之類的外掛。建議讀者不要安裝各種擋廣告的外掛,否則很多網頁異常的狀況會讓你花更多時間 debug,卻又找不出原因來。
五、測試自動寄信功能
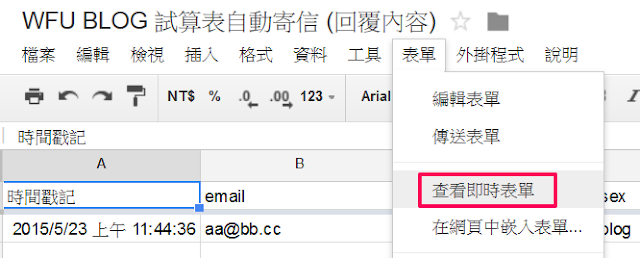
回到試算表主畫面,我們來試試看能否自動寄信。如上圖按「表單」→「查看即時表單」,自行填寫表單測試。
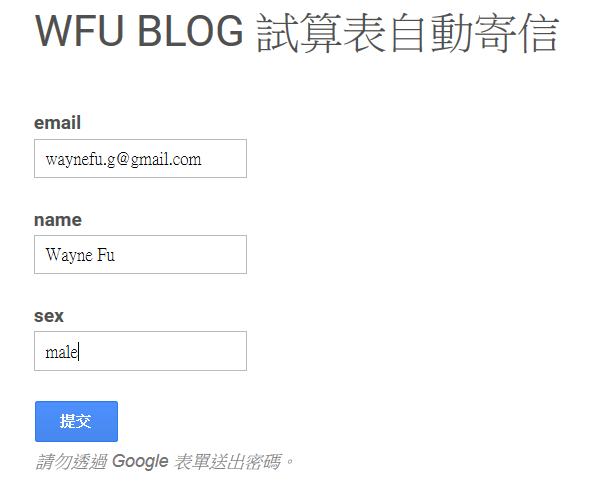
隨意填寫,按「提交」送出資料。
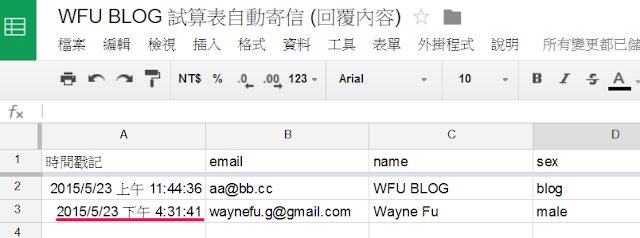
回到試算表,立即看到新增的一筆資料,請看紅色底線標註的時間點。
如果有安裝「Checker Plus for Gmail™」這類的瀏覽器外掛,其實沒幾秒就會收到信件通知了。
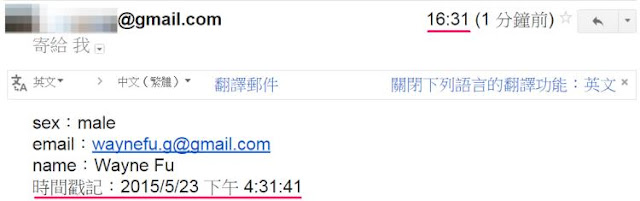
檢視一下 Gmail 的畫面,果然馬上就收到了表單填寫通知。而且無論表單設計了幾個項目,這個工具都會取出所有項目及填寫資料,並在通知信件中列出,可說非常的實用!
更多 Google 試算表工具: